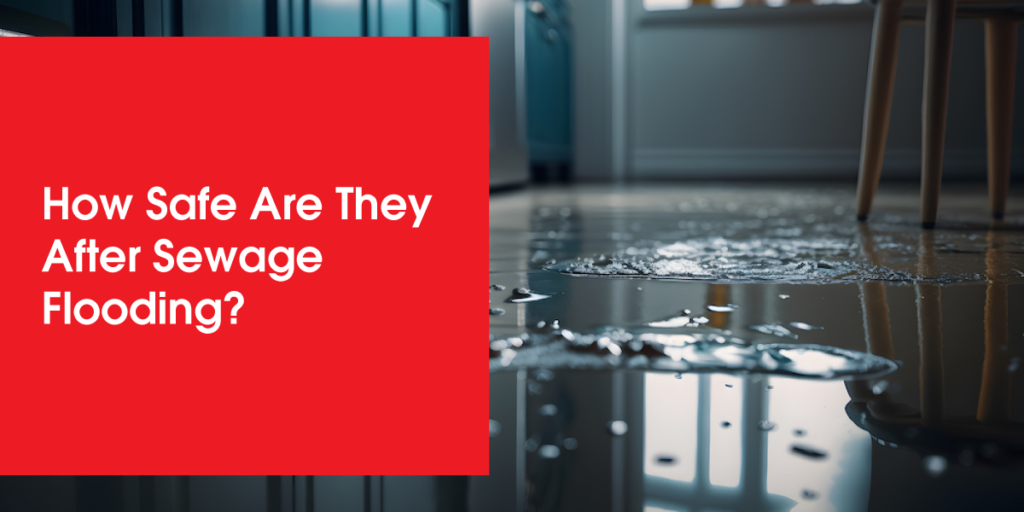
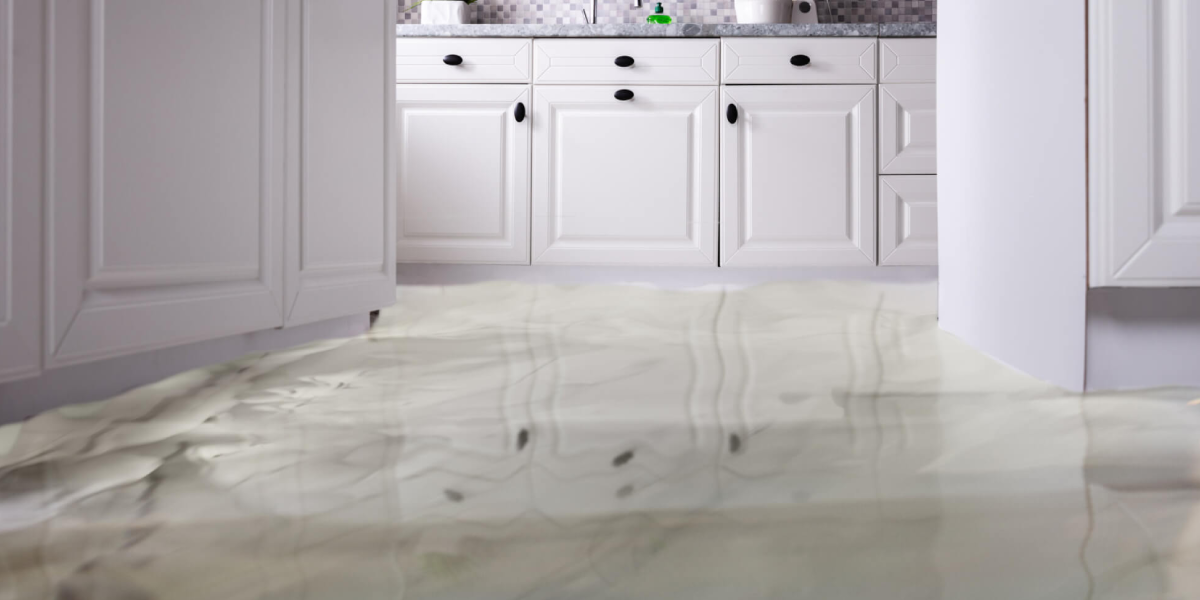
Sewage flooding is a nightmare. It’s not just about the mess—it brings bacteria, viruses, and toxic chemicals into your home. If you have ceramic tile floors, you might think they are safe. After all, ceramic is waterproof, right?
Not always! The grout, cracks, and loose tiles can trap contamination. Water can seep underneath, leading to mold growth, bad smells, and even subfloor rot.
In this blog, we will explain how to check your tiles, clean them properly, and decide whether to restore or replace them.
Key Takeaways:
|
What Happens When Sewage Floods Ceramic Tile Floors?
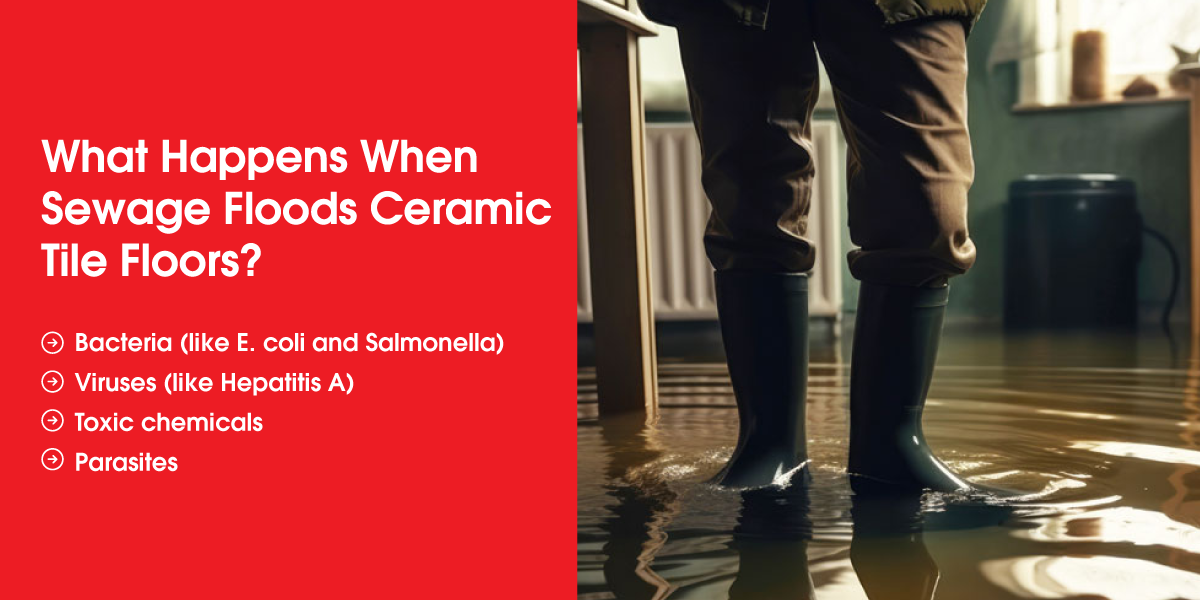
When sewage water enters your home, it carries:
✅ Bacteria (like E. coli and Salmonella)
✅ Viruses (like Hepatitis A)
✅ Toxic chemicals
✅ Parasites
Even though ceramic tiles are non-porous, the grout is not. If there are cracks, loose tiles, or gaps, water can seep underneath. This can lead to:
| Damage Type | What Happens? |
| Cracked Grout | Lets contaminated water seep into the subfloor |
| Loose Tiles | Allows moisture to get trapped underneath |
| Subfloor Rot | Causes wood to weaken, leading to structural damage |
| Mold Growth | Increases allergy risks and bad odors |
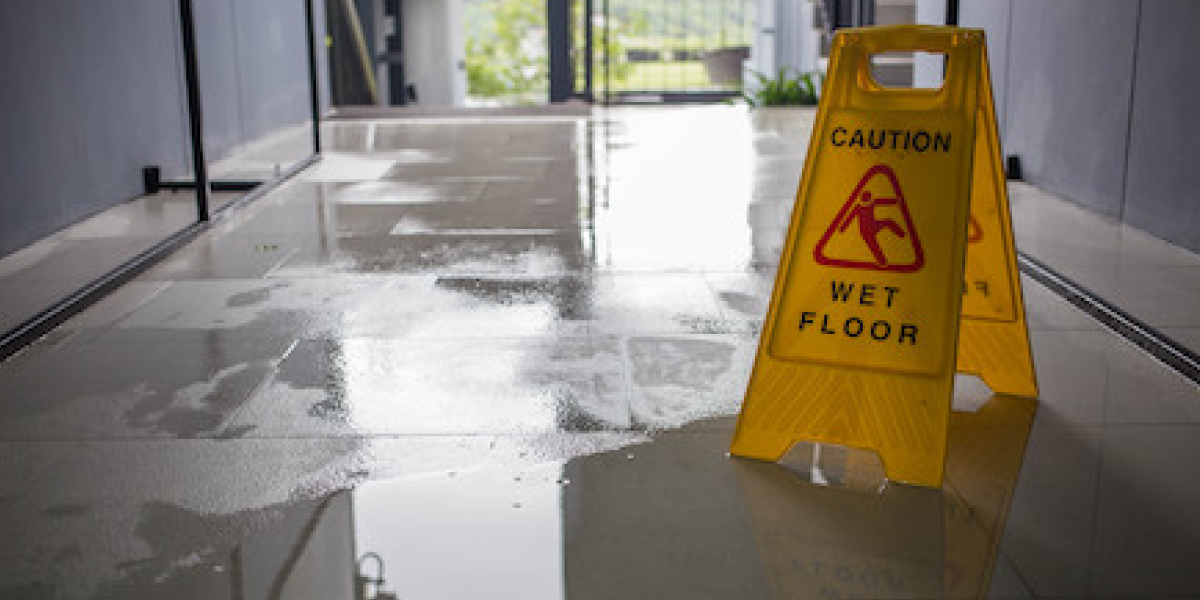
Can Your Ceramic Floor Be Saved?
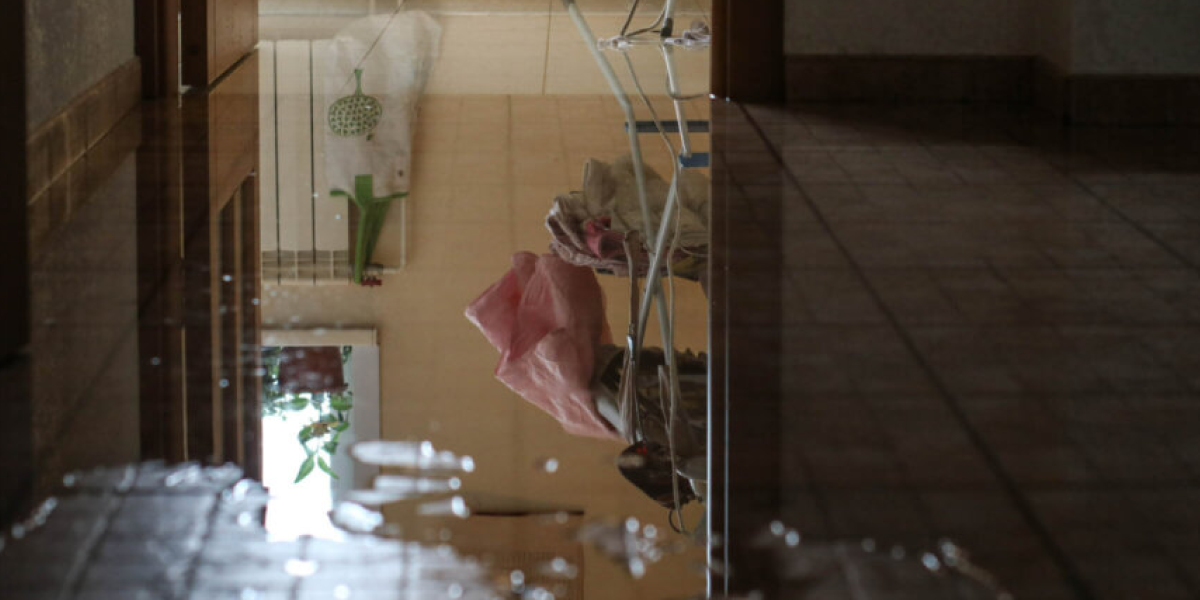
Before you start cleaning, check for these signs of water damage after sewage flooding:
🔹 Cracked grout – Water may have seeped in.
🔹 Loose tiles – The floor underneath might be wet or damaged.
🔹 Bad smells – A musty odor means hidden contamination.
🔹 Discoloration – Stains on tiles or grout indicate mold or sewage residue.
If the sewage water was on the tiles for less than 24 hours, you can probably clean and disinfect the tiles yourself because the contamination hasn’t had enough time to soak deeply into cracks, grout, or the subfloor.
If the sewage water stayed for more than 24 hours, it may have seeped into the grout, cracks, or subfloor, leading to hidden contamination, mold growth, and bad odors.
In this case, a professional restoration service is recommended to clean or replace the damaged flooring properly.
At SOS Restoration, we’re here to help you with expert water damage restoration services, ensuring your property is fully restored and safe. If you’ve experienced damage from sewage or water, our team provides thorough cleaning and repair to prevent further issues like mold and contamination.
We’re here 24/7 for you and can even help with insurance claims!
Contact us now for a free inspection and estimate!
Cleaning vs. Replacing: What Should You Do?

So, When Can You Clean Your Tiles?
✅ If water did not seep under the tiles
✅ If the grout is not cracked
✅ If the subfloor is dry and intact
When Do You Need to Replace Them?
🚫 If there is severe mold growth
🚫 If the tiles feel loose or uneven
🚫 If the subfloor is rotting
🚫 If there’s a persistent bad smell
Fact: According to the EPA, mold can start growing in just 24–48 hours if moisture is not removed!
Step-by-Step Guide to Cleaning Your Ceramic Tile Floors
If your floor is still safe, follow these steps to disinfect it properly.
Step 1: Protect Yourself
Before you start, make sure you’re protected. Put on gloves to avoid touching anything that could be harmful. A mask and goggles will also help keep you safe from germs or dust.
Don’t forget to open the windows to let fresh air in. It helps to keep things airy and safe while you work.
Step 2: Remove Contaminated Water
The next thing you’ll need to do is get rid of any dirty water. Don’t use your regular mop—this will only spread the germs around. Instead, use a wet vacuum or a mop that can really soak up all the water.
Be sure to clean up every last drop. The floor needs to be completely dry before moving to the next step.
Step 3: Disinfect the Tiles
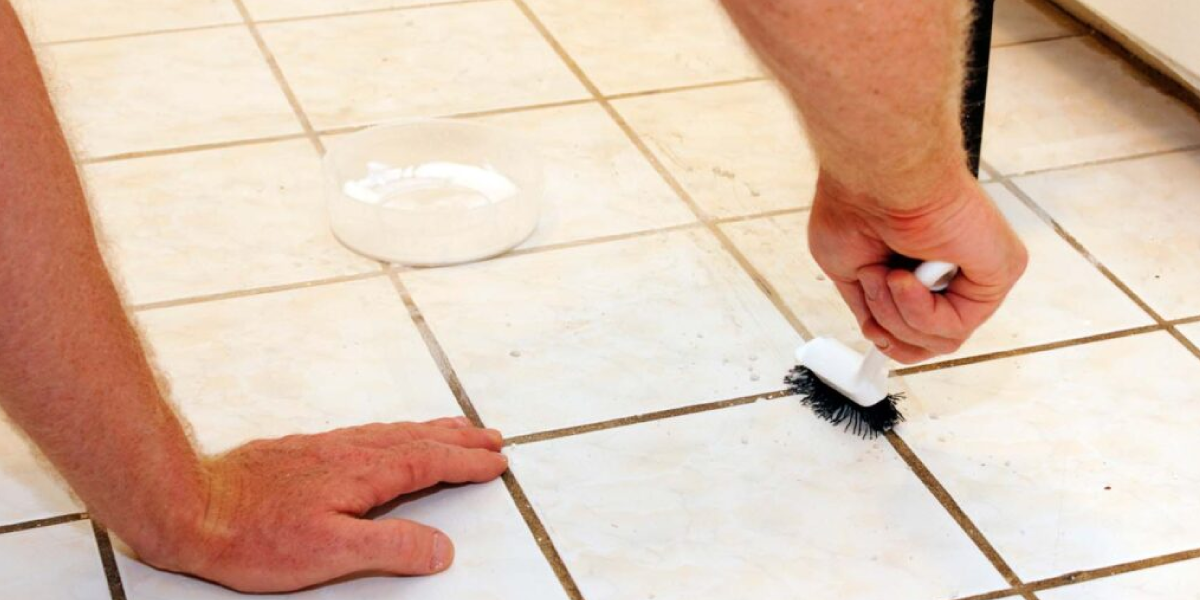
Now it’s time to clean and disinfect. Take a gallon of water and add one cup of bleach to it. Mix it well, then grab a scrub brush or sponge. Start scrubbing the tiles and grout.
Focus on the grout lines, as they can hold bacteria. Scrub every corner carefully to make sure it’s clean. You want to make sure no germs are left behind.
Step 4: Dry the Floor Completely

Once you’ve scrubbed everything, it’s important to dry the floor completely. Use fans to help the air move and dry out any leftover moisture. If you have a dehumidifier, now’s a good time to use it too.
Let the floor dry for at least 24 hours. You don’t want any water to stay on the tiles because that could lead to mold.
Step 5: Seal the Grout
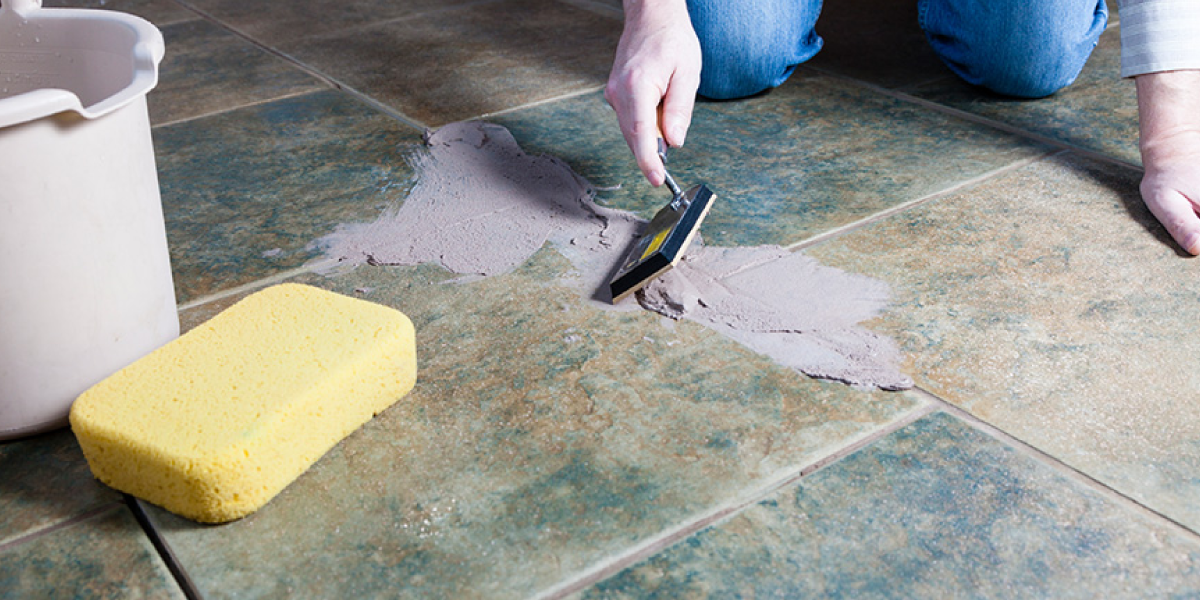
The final step is to protect your grout. Grout is like a sponge that can soak up water, and over time, it can get damaged. To prevent this, use a grout sealer.
It’s easy to apply—just follow the instructions on the bottle. This will help keep the grout strong and prevent future water problems.
Discover how to safely remove water from your tiles after flooding with our easy-to-follow water extraction guide.
What If the Damage Is Too Severe?
If water reaches the subfloor, simple cleaning won’t work. You need professional restoration.
Experts will:
✅ Check for hidden contamination
✅ Remove damaged tiles and grout
✅ Dry and treat the subfloor
✅ Install new, safe tiles
Preventing Future Sewage Damage
To avoid another sewage disaster, take these steps:
- Seal the grout – Prevents water from seeping in.
- Install a backflow valve – Stops sewage from coming up drains.
- Improve drainage – Keep gutters and pipes clear.
- Inspect your plumbing – Fix leaks before they become disasters.
Need help getting insurance to cover water damage? We’ve got simple tips in our blog.
Wrapping Up: Are Your Tiles Safe After Sewage Flooding?
👉 If the sewage water was cleaned quickly, and there are no cracks or loose tiles, your floor may be safe.
👉 If there’s bad smell, loose tiles, or discoloration, there may be hidden contamination—get professional help.
👉 Don’t wait too long—mold and bacteria can cause serious health risks!
Need Help? If you suspect damage, call a water damage restoration expert immediately!
FAQs
|