|
To test for mold in the house, you have to first look and smell around for any musty odors, black or green spots, or signs of water damage on walls, floors, or ceilings. Use a hygrometer to check if indoor humidity is above 50%, which can help mold grow. If you’re still unsure, use a home mold test kit for a basic check or call a certified mold inspector for a full professional inspection. |
Mold is something we all want to avoid in our homes. It’s not just a bad smell or some ugly spots on the wall, it can actually make you and your family sick. If you’re feeling unwell or if your house has had leaks or humidity problems, mold might be the hidden reason behind it.
In this guide, we’re going to talk step-by-step about how to test for mold in the house, when to call a professional, what tools and tests are used (like a mold testing kit or black mold detector), and even what the EPA says about this.
Let’s start from the beginning.
What is Mold and Why Should You Worry?
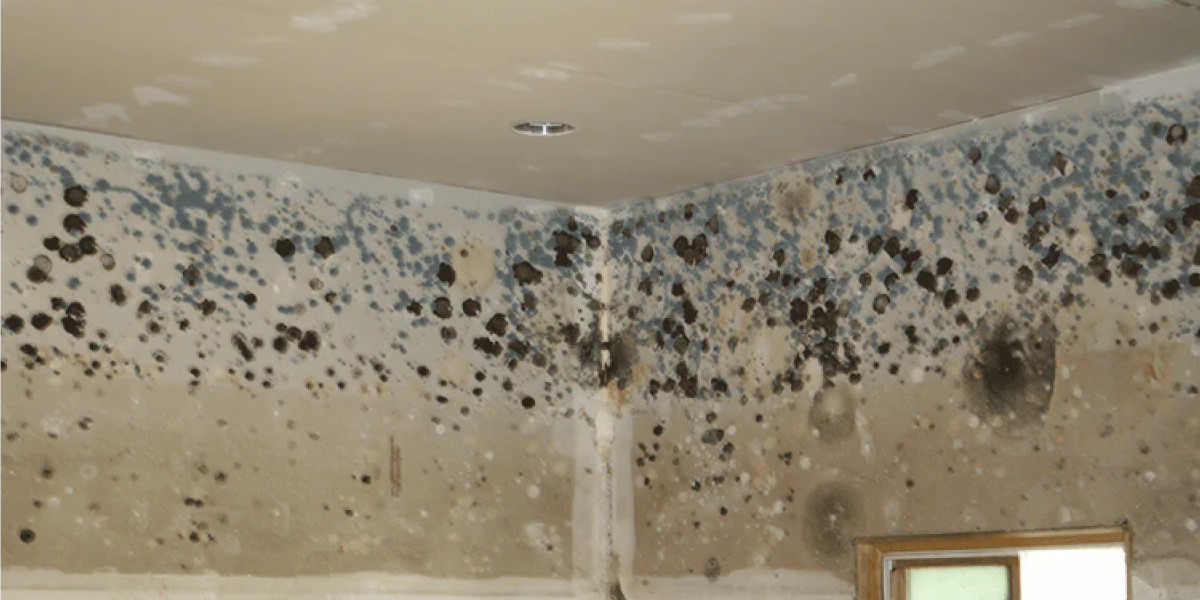
Mold is a type of fungus that grows when there is moisture and something to feed on, like wood, drywall, carpet, or paper. Some mold is harmless, but some types, especially black mold, can produce harmful mycotoxins that can make people really sick.
If you’ve had a water leak, high humidity, or smell something musty in your home, mold might be hiding somewhere. The scary part? Mold can even grow behind walls, under floors, or in the air vents where you can’t see it.
That’s why people often ask, “How can you check for mold in your house?” and that’s exactly what we’ll help you with in this article.
How to Test for Mold in the House – Step-by-Step
So, how to test for mold in your house? Let’s walk through each step in detail.
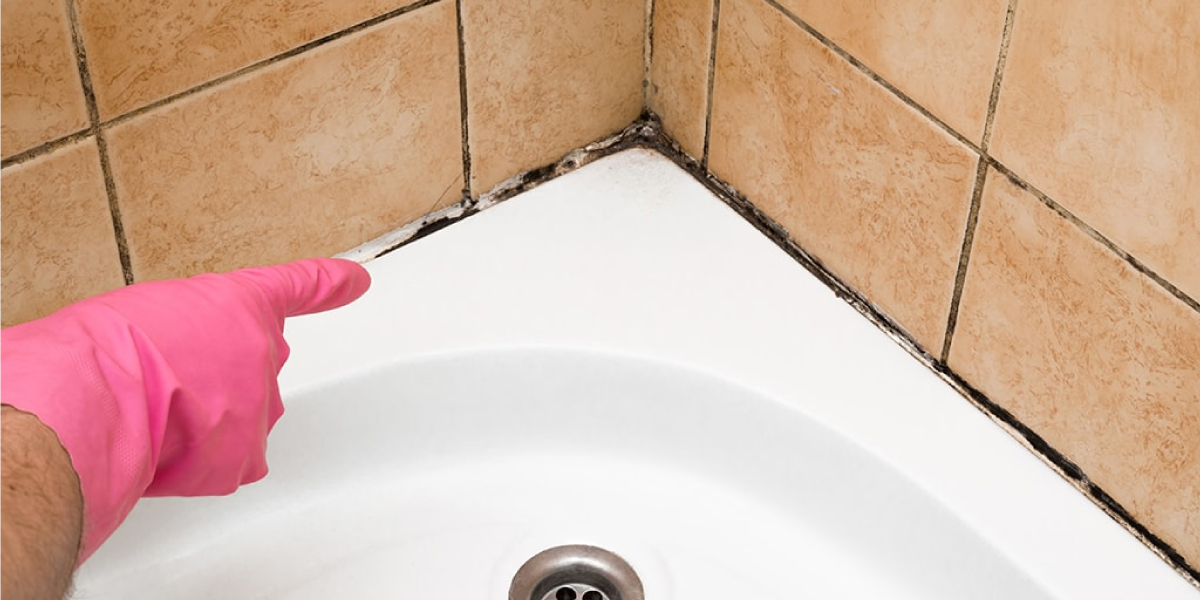
1. Look and Smell Around – Visual and Smell Check
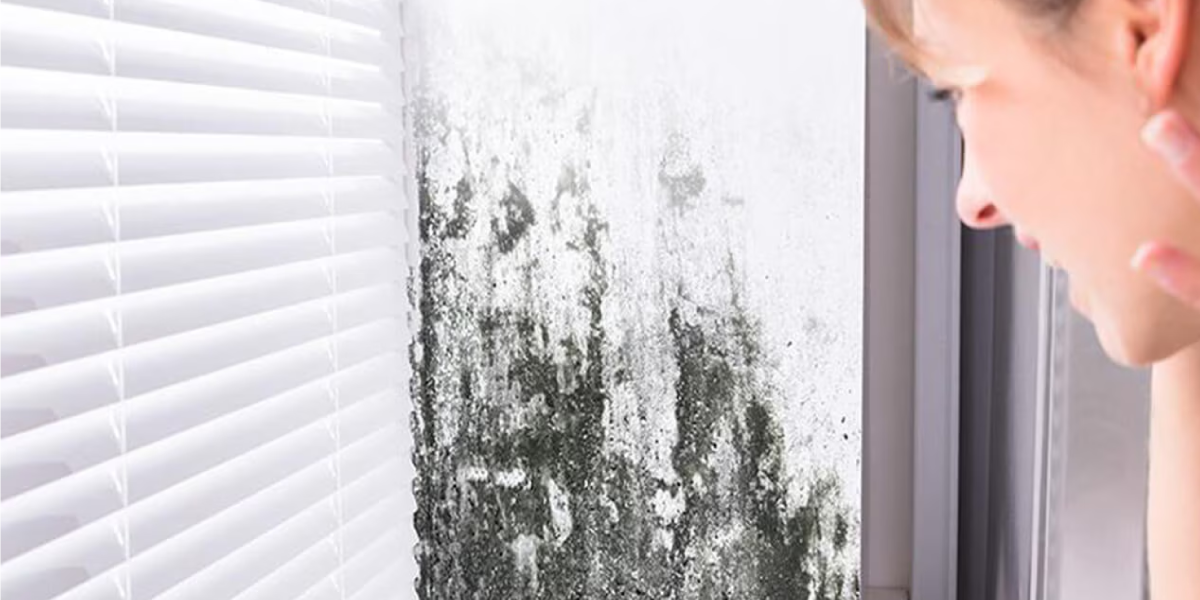
This is your first simple test. Use your eyes and nose to start.
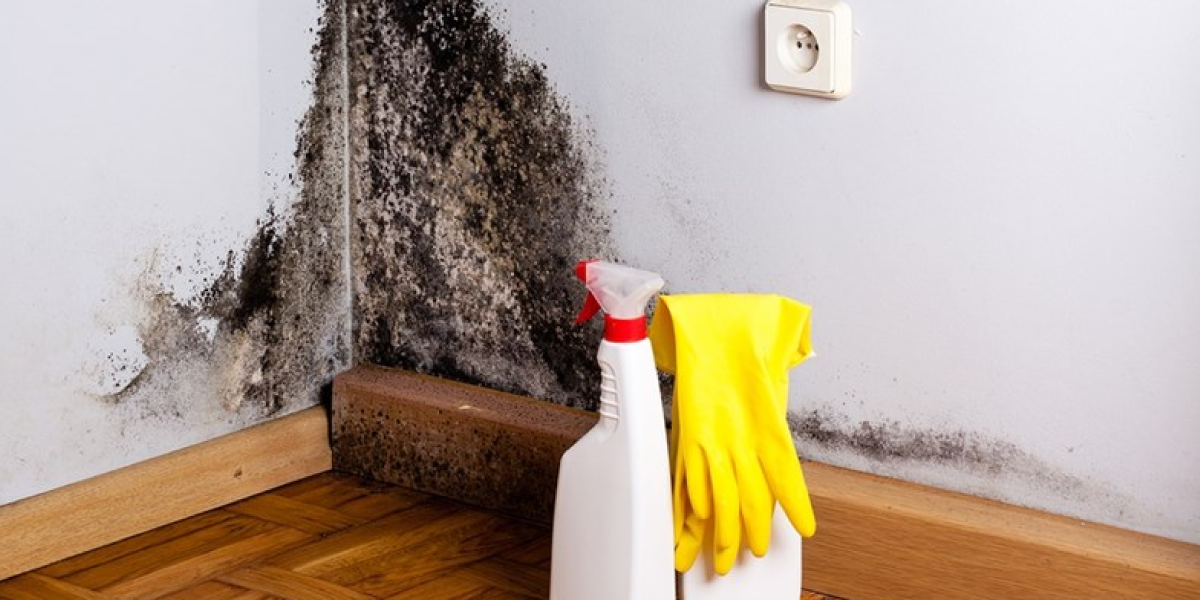
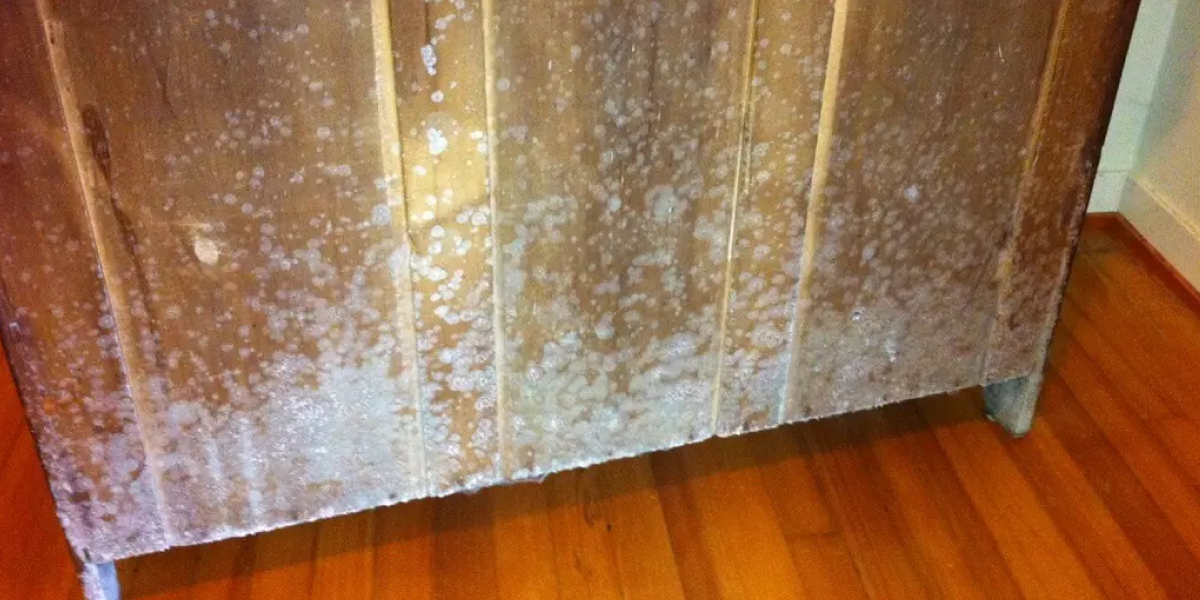
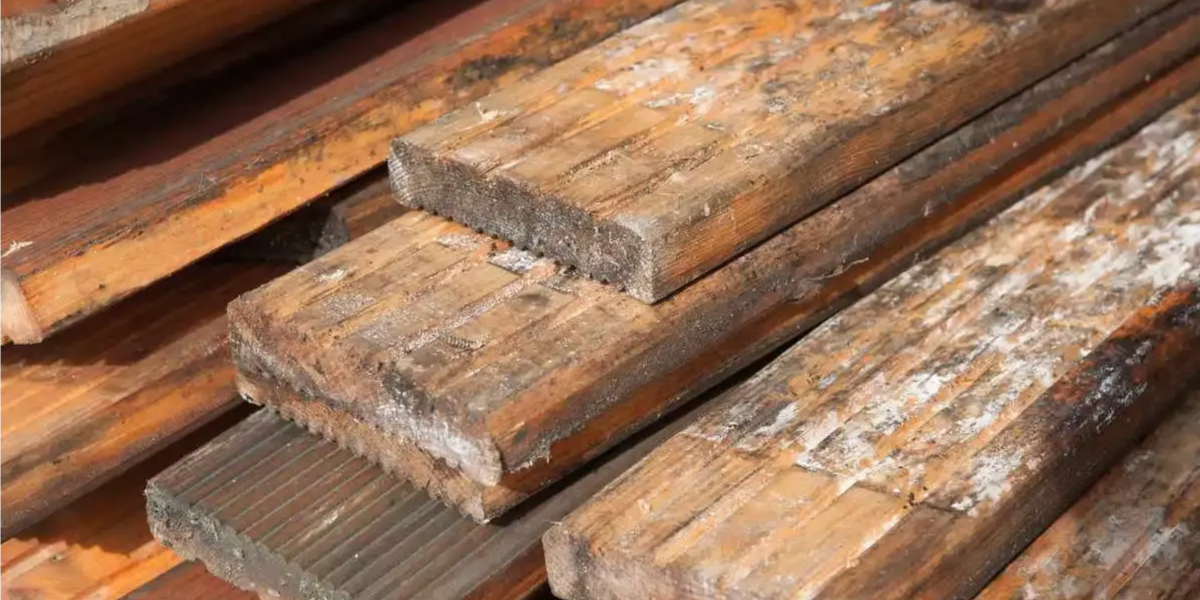
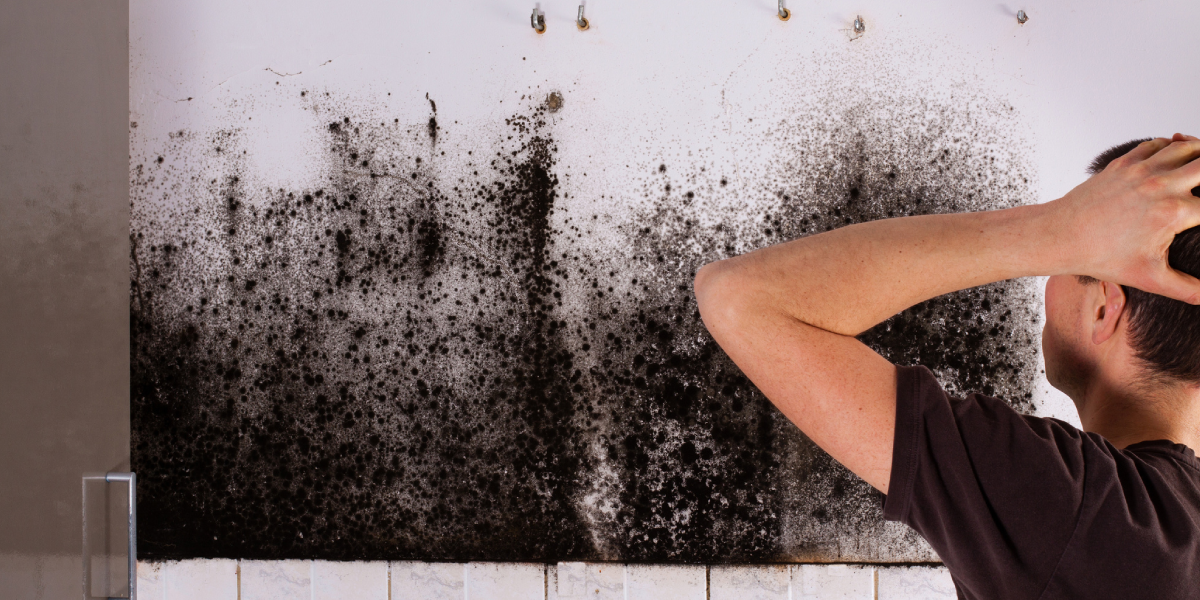
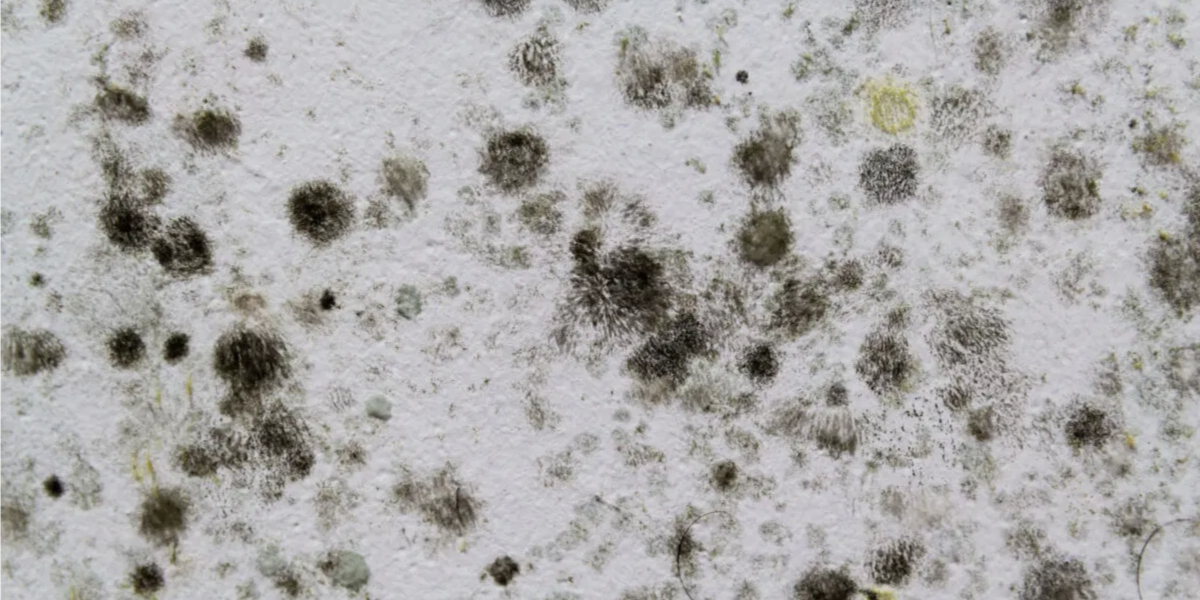
So, what does mold look like? Mold can appear fuzzy, slimy, or powdery, and its color can be black, white, green, or even orange. That’s why you should look for stains, black or green spots, bubbling paint, warped floors or walls, or peeling wallpaper.
Smell for: A musty, old-book, or damp basement smell. Mold smell usually means mold growth is already happening.
If you see or smell anything suspicious and wonder how to detect mold in your home, it’s time to take the next steps.
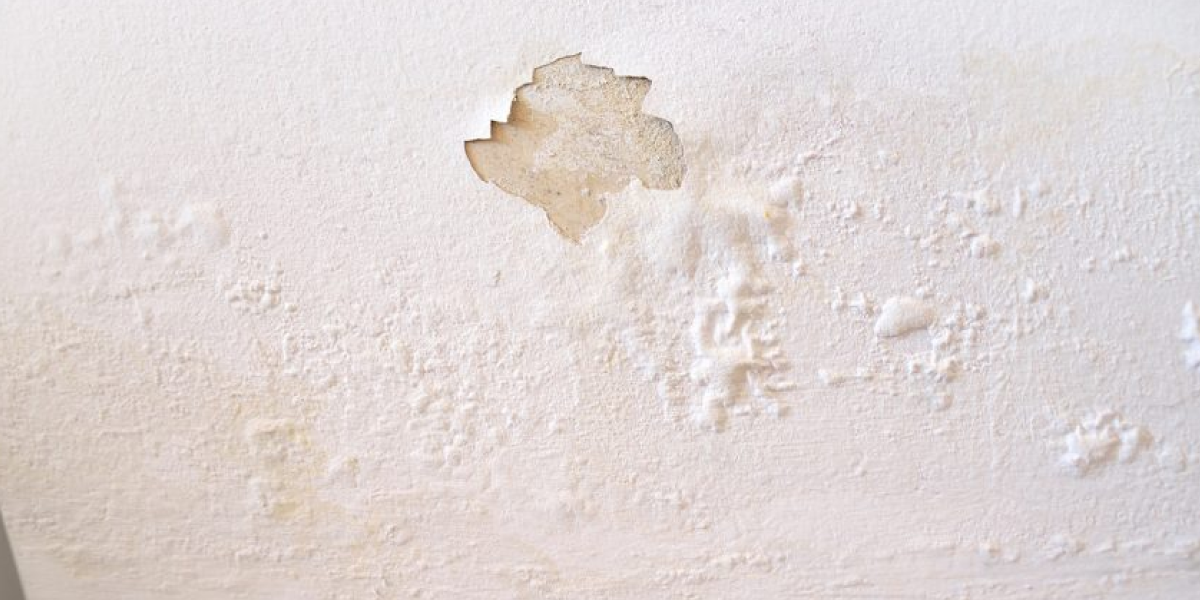
2. Check for Leaks and Dampness
Mold loves moisture. Ask yourself:
- Has there been a roof leak, plumbing issue, or a flood recently?
- Do you live in a humid area?
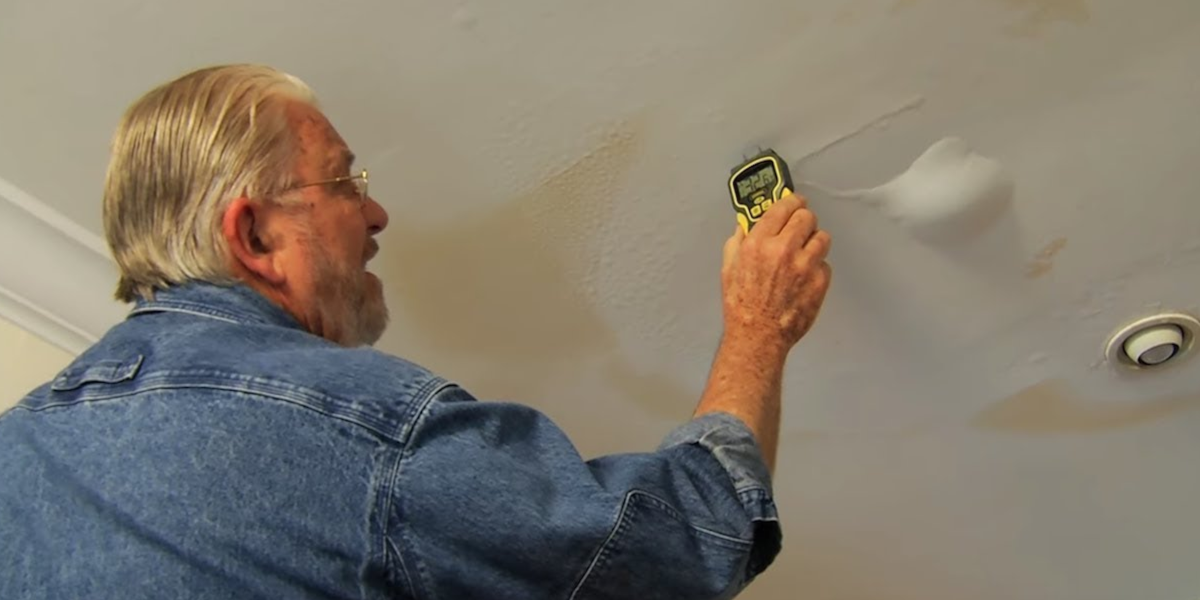
Use a hygrometer (a small tool that measures humidity) to check your home’s moisture. This is a great way to detect mold inside walls, especially if you suspect hidden water damage.
If indoor air is above 50-55% humidity, it’s a good spot for mold to grow. Here are the ideal humidity levels:
- Below 50% = Safe
- 50%-60% = Risk starts
- Above 60% = Mold-friendly zone.
You can buy a hygrometer online or at hardware stores for a low price.
You can visit this informative guide to learn how to check for mold after water damage.
3. Check the Heating and Cooling System (HVAC)
If mold grows inside your air ducts, it can spread all over your home through air vents. So, check for:
- Black dust or spots around vents
- A musty smell when air comes out.
In such cases, your HVAC filter can even be tested using a mold tester or during a professional inspection.
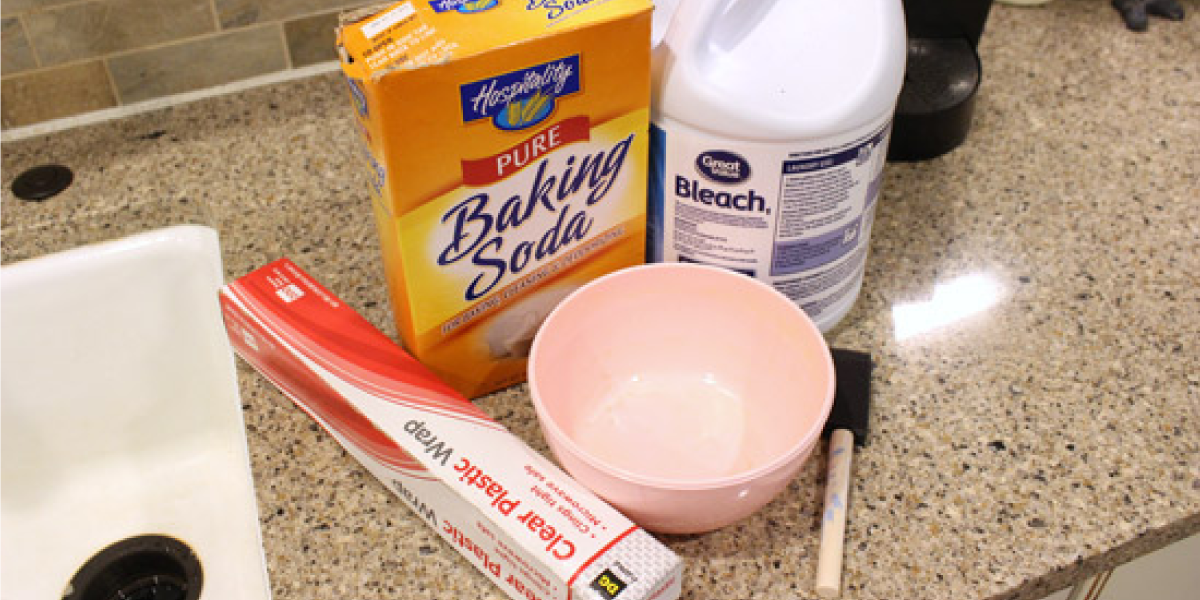
4. Use DIY Mold Test Kits (But Be Careful)
You can also use an at-home mold test kit if you’re curious or want to take a first step before calling someone. These home mold test kits let you collect air or surface samples.
- Good for: Getting a basic idea
- Not always accurate: They can give false negatives or miss hidden mold.
So, while an at-home mold test or black mold detector is cheap and quick, if your symptoms continue or you’re still worried, it’s safer to get professional help.
How to Test for Black Mold in the House
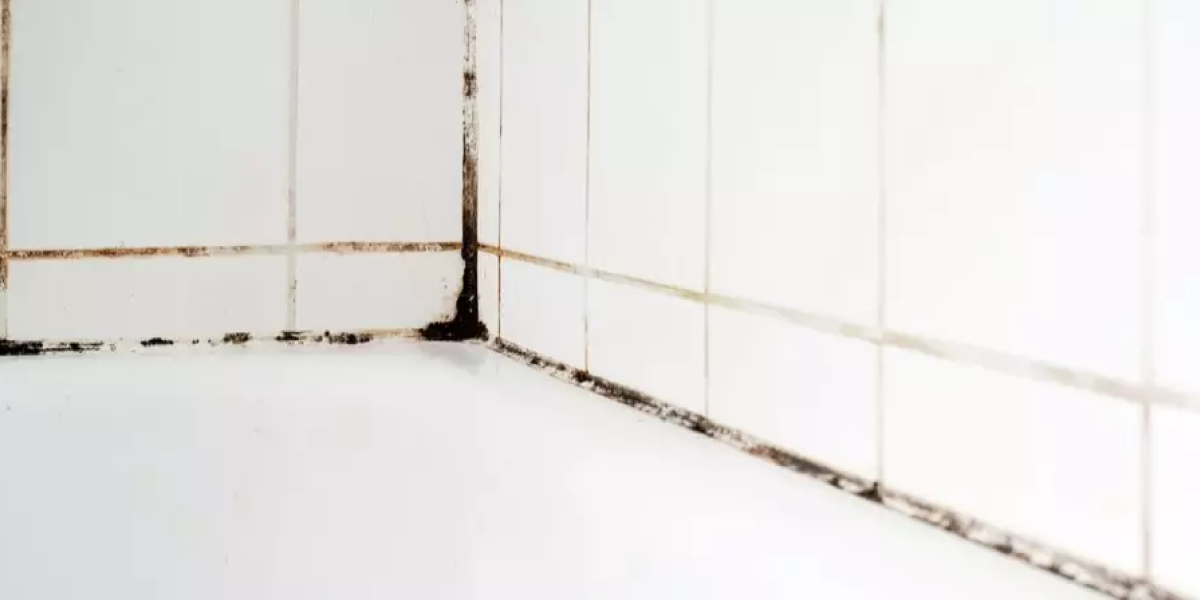
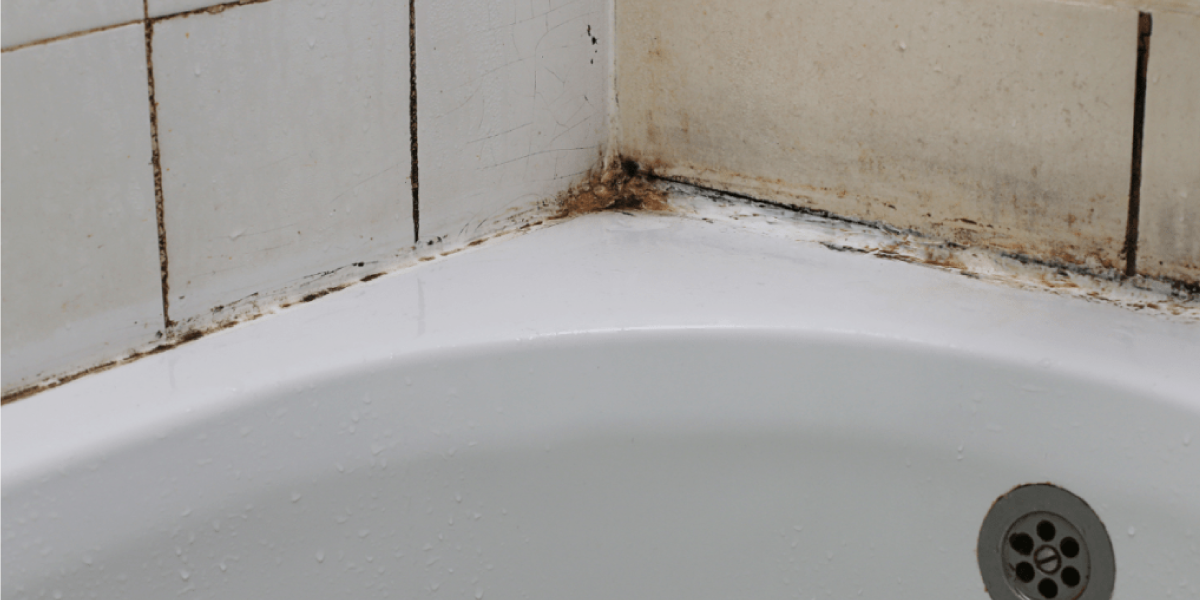
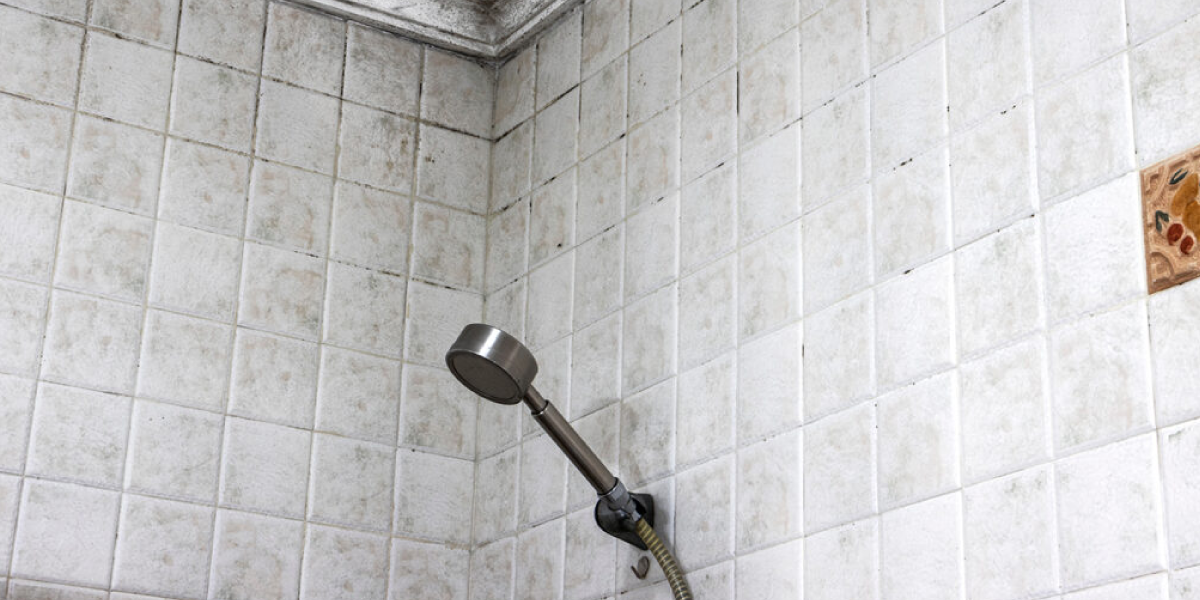
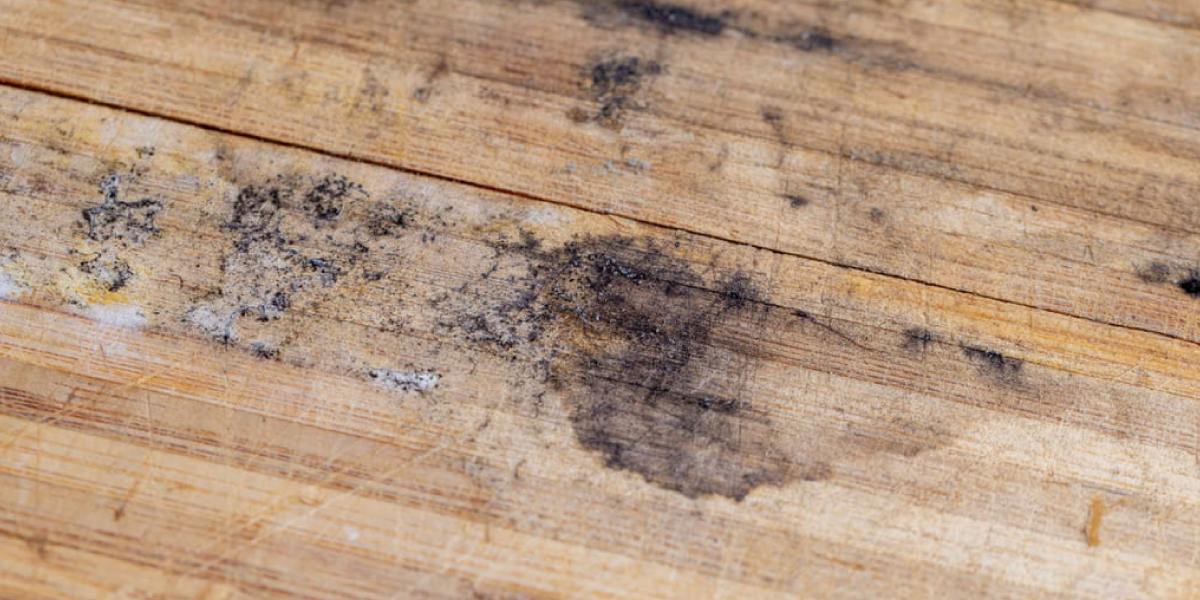
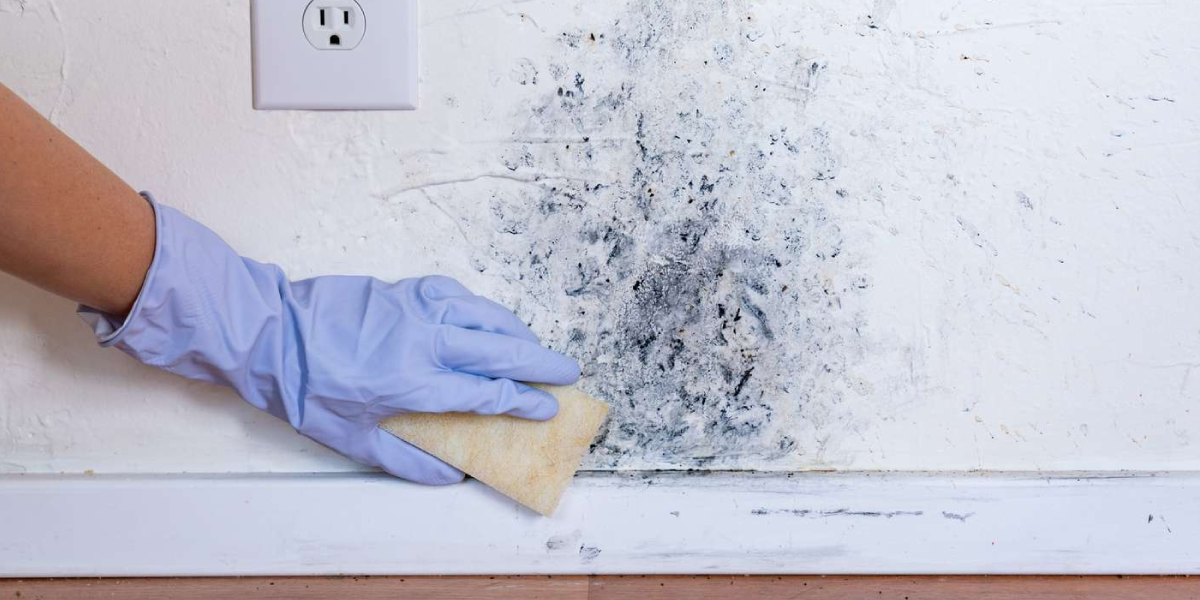
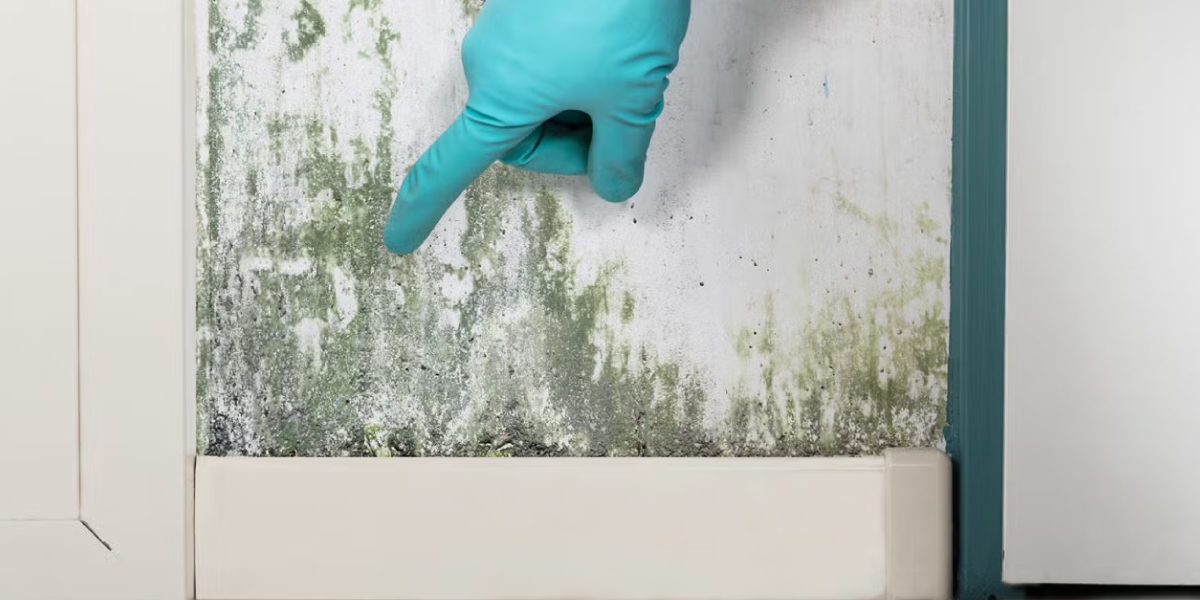
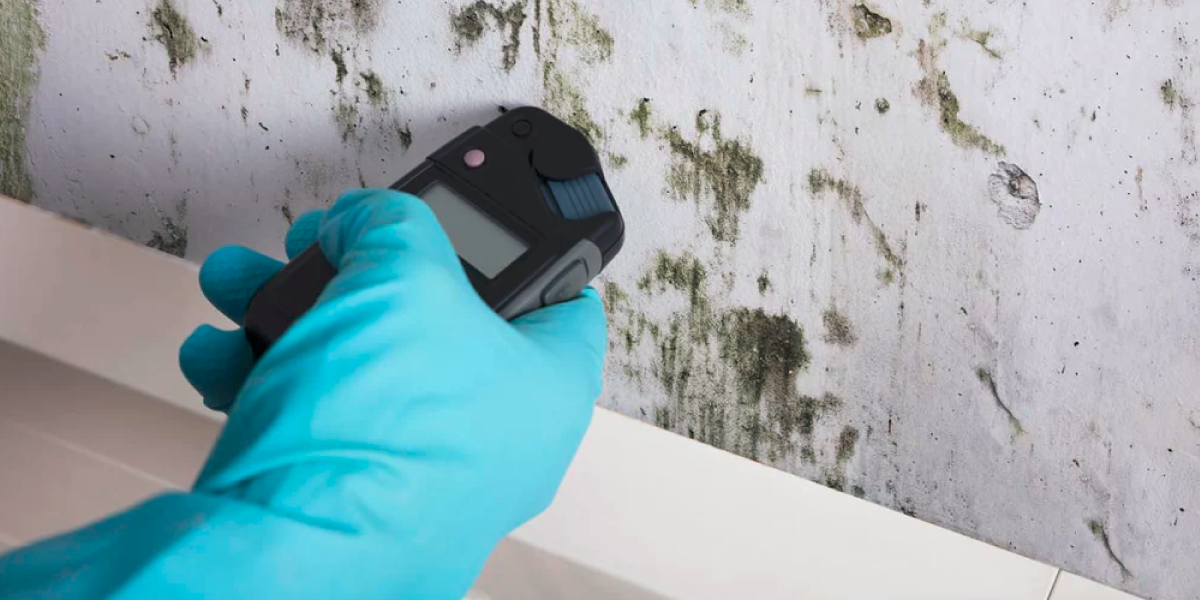
If you think there might be black mold in your house, start by checking areas where it’s damp, like bathrooms, basements, under sinks, or near leaky windows.
Look for dark, spotty patches on walls, ceilings, or around tiles. Black mold often looks like black or dark green stains. It usually has a strong, musty smell too.
You can use a home test kit to check if it’s mold, but if you feel sick or the mold is in a big area, it’s best to call a mold expert who can test it properly and tell you exactly what kind of mold it is.
For detailed information, you can visit this guide to learn how to remove black mold.
5. Professional Mold Testing: When You Must Call for Help
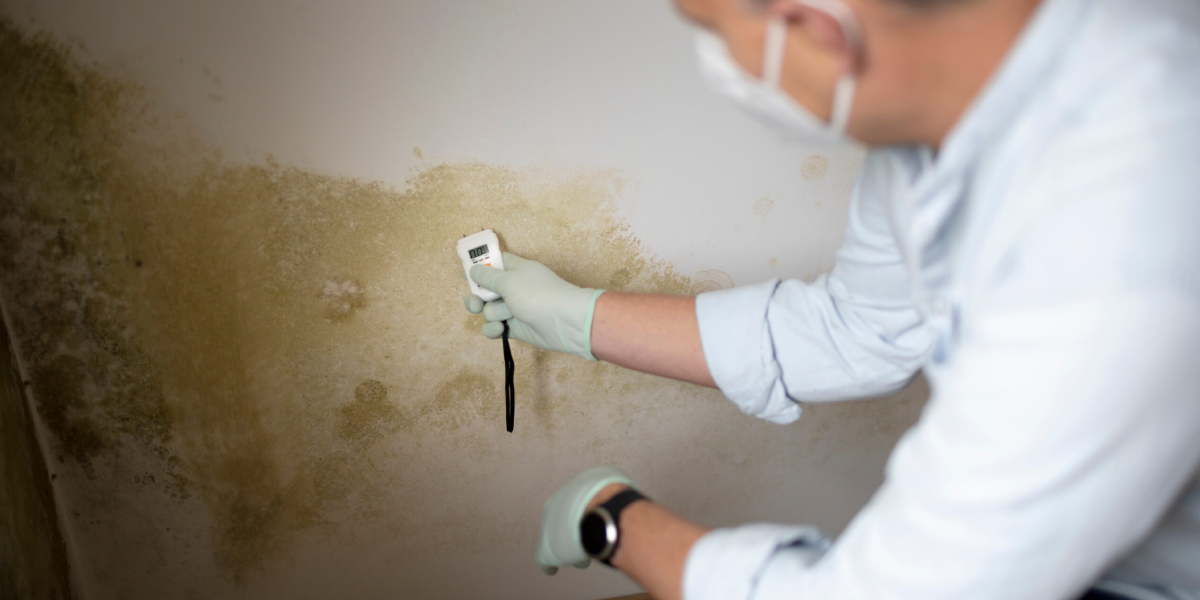
If you’ve tried simple methods and still feel unsure, you might need a mold inspection near you. You should definitely consider calling a professional if:
- You’ve had any water damage
- Your home smells musty and you don’t see visible mold
- Someone in the house is sick with headaches, rashes, or fatigue
- You want peace of mind with a full checkup.
If you’re Googling “free mold inspection near me,” SOS RESTORATION is always here for you.
What a Professional Mold Inspection Includes
Here’s what a proper mold inspector or mold tester will usually do:
| Step | What It Involves |
| Visual Inspection | Checks landscape, attic, roof, basement, and crawlspaces for leaks |
| Humidity Check | Uses digital meters to check moisture in walls and air |
| Thermal Camera | Finds cold spots in walls that may mean hidden leaks |
| Spore Trap Testing | Collects air samples inside and outside the house |
| Tape Sample Testing | Presses tape on surfaces to check mold type |
| Mycotoxin Testing | Lab tests using HVAC filters or duct swabs |
| Actinomyces Testing | Checks for dangerous bacteria found in water-damaged homes |
What Does the EPA Say About Mold?
The Environmental Protection Agency (EPA) recommends:
- Dry any wet areas within 24 to 48 hours
- Fix leaks fast to prevent mold growth
- If mold covers more than 10 square feet, hire a professional.
Remember: mold may grow behind walls or wallpaper, so don’t rely only on what you can see.
What to Do If Mold is Found
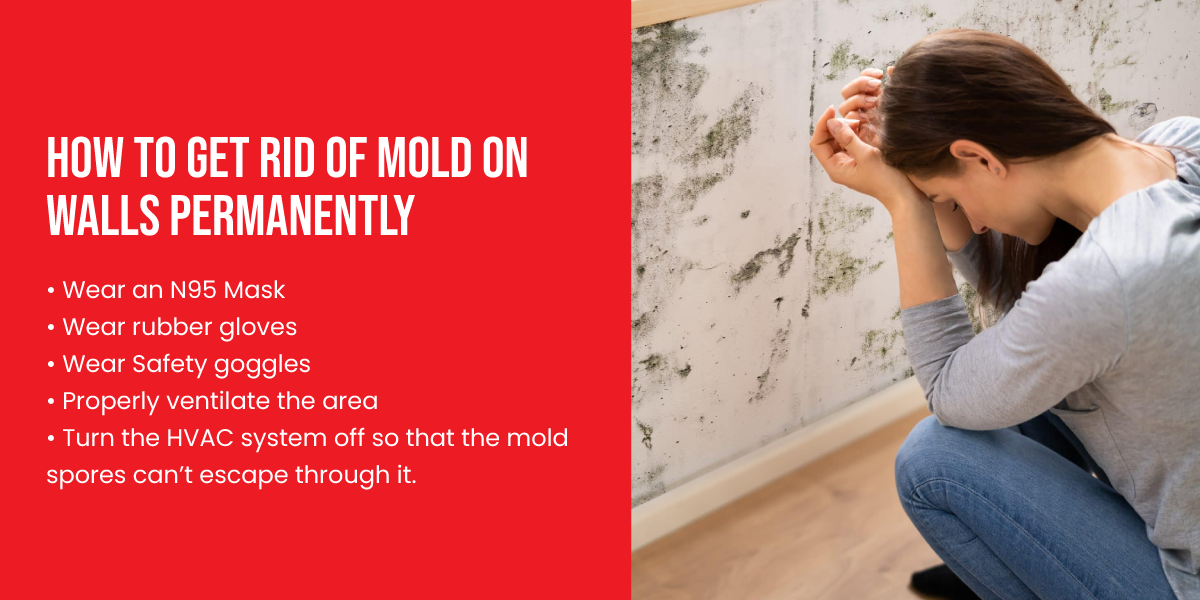
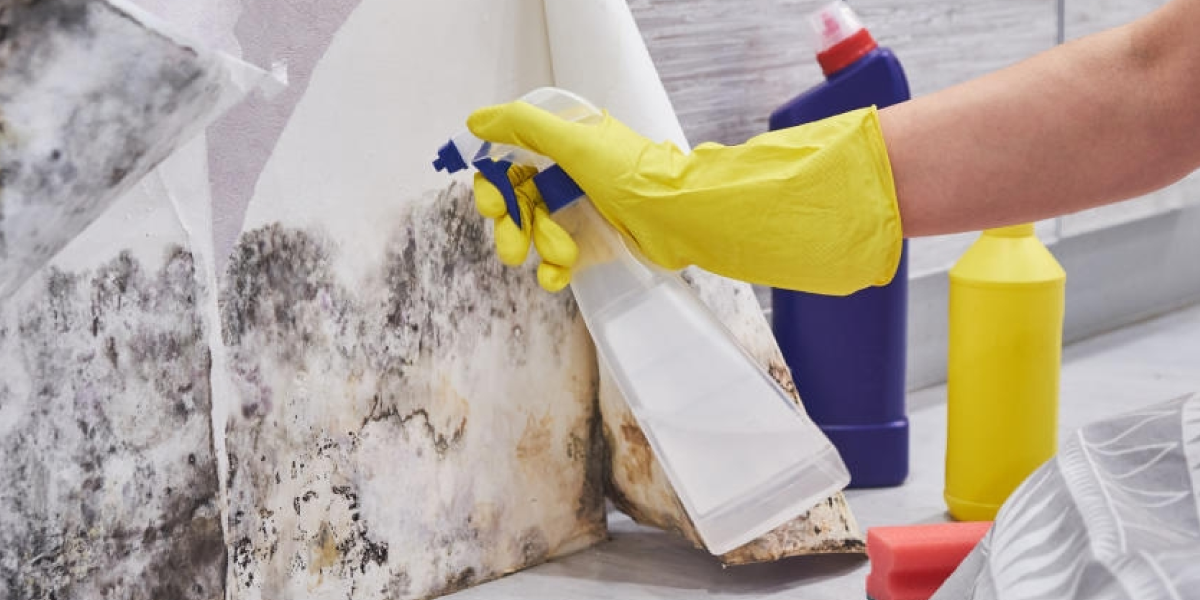
If mold is confirmed in your home, don’t try to clean it yourself, especially if it’s large or hidden.
Here’s why:
- Cleaning without proper gear can spread mold spores.
- Without sealing off the area, mold toxins might float around the house.
- DIY cleanup often leads to more mold if not done properly.
So, hire certified Mold Removal professionals with the right experience. These experts know how to remove mold safely and prevent it from coming back.
Wrapping Up
So, now you know exactly how to test for mold in the house. Mold might seem scary, but once you know what to look for and how to act, it’s much easier to handle. Just take it one step at a time, and if you’re unsure, always ask for expert help.
Stay safe and mold-free!
FAQs
|