Water-damaged ceilings are a very common problem. But they are also serious. A small water spot today can turn into a big mess tomorrow. If you act fast, you can save a lot of money and avoid mold or structural damage.
In this guide, we’ll walk you through everything, showing you how to spot early signs of water damage on the ceiling. We’ll teach you how to do a temporary fix for a leaking ceiling if needed. Even, you’ll learn how to fix a water-damaged ceiling completely.
And we’ll also tell you when to call a professional. Here’s the brief for you, though: To fix a water-damaged ceiling, first stop the leak and dry the area completely. Then cut out damaged parts, patch or replace them, and repaint the ceiling nicely.
No more delays. Let’s get into the details.
Signs of a Water-Damaged Ceiling

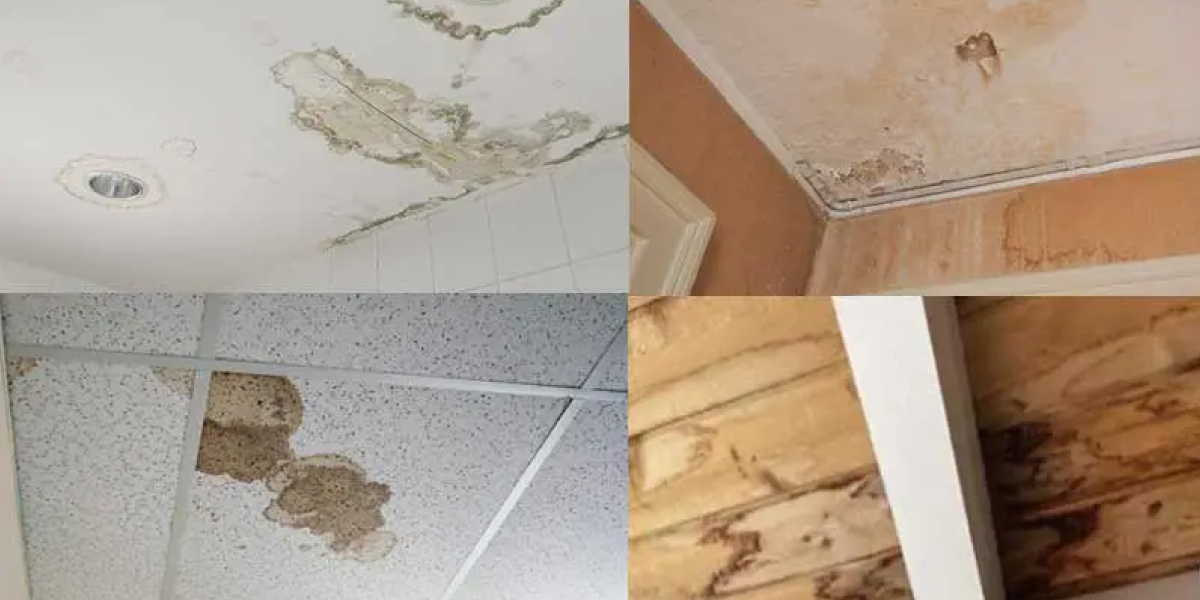
Early signs of water damage on the ceiling are easy to miss. But spotting them early saves you from big repairs later.
Here are the first things you might notice:
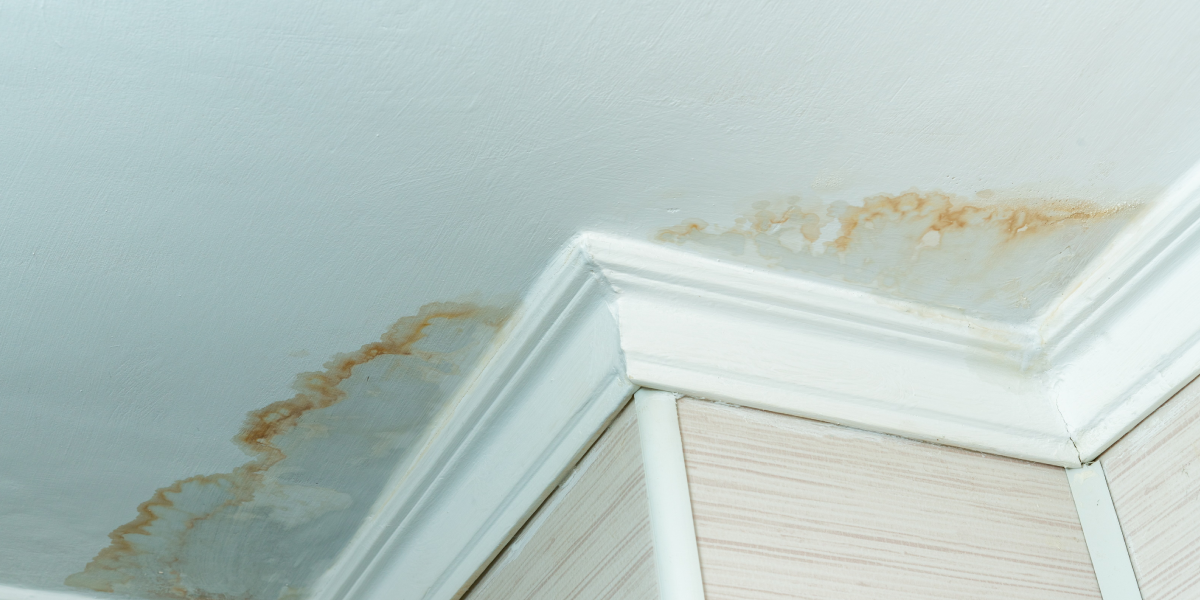
- Yellow, brown, or copper-colored stains
- Bubbling, peeling, or cracking paint
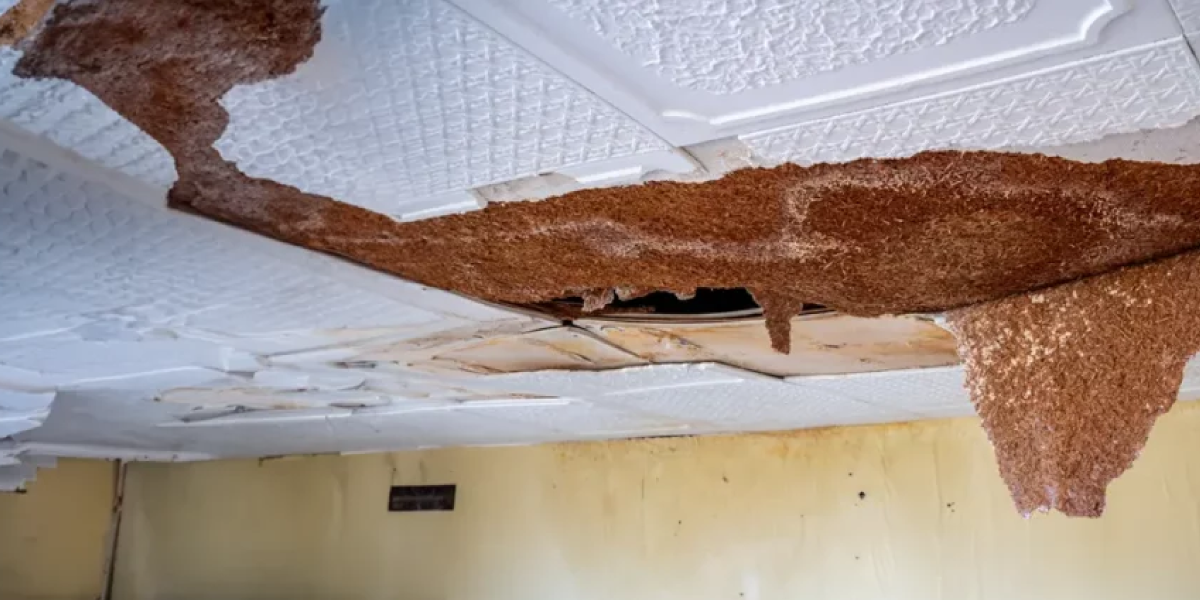
- Parts of the ceiling are sagging or drooping
- A musty smell like mold or mildew
- Water dripping or wet spots
- Small cracks are spreading from one place.
Common Causes of Water Damage in Ceilings
Finding the cause helps you know if you need a temporary fix for a leaking ceiling or a full repair. Let’s find out:
- Roof leaks. Broken shingles or flashing can let rain in.
- Plumbing leaks. Pipes between floors or bathrooms can leak.
- HVAC problems. Air conditioners or ducts can drip water.
- Upstairs flooding. A tub overflow upstairs can soak the ceiling below.
- Bad ventilation. Too much steam in bathrooms can cause water to build up.
Important First Steps Before Fixing
Before you jump into fixing the ceiling, there are a few important steps you need to take first to make sure everything is safe and ready.
First, find where the water is coming from by checking the roof, pipes, or any condensation buildup. Then you need to stop the water — if it is a leaking pipe, turn off the water supply, and if it is raining through the roof, cover it with a tarp.
If you cannot fix it right away, you can use a temporary fix for a leaking ceiling just to hold things for now. After that, dry the area completely by opening windows, using fans, or setting up a dehumidifier.
Make sure it is fully dry before you move on. Now check how bad the damage is — is it just a stain, or is the ceiling sagging or falling apart? Remember, water damage on the ceiling is dangerous because if you ignore it, it can cause mold to grow and even weaken the structure of your home.
Safety Precautions Before Repair
- Look for mold: If you see a lot (more than a 10 square foot area), call a mold specialist. They know who to call for water damage in the ceiling properly.
- Turn off the electricity: Water and electric wires are a deadly mix.
- Wear safety gear: Use gloves, goggles, and a mask when cutting or sanding.
Tools and Materials You Will Need
| Tools | Materials |
| Ladder | Drop cloths or plastic sheets |
| Utility knife | Joint compound |
| Drywall saw | Drywall tape |
| Putty knife | Replacement drywall (if needed) |
| Sandpaper | Stain-blocking primer |
| Paintbrushes and roller | Ceiling paint |
| Stud finder (optional) | Mold treatment spray |
Step-by-Step Guide on How to Fix a Water-Damaged Ceiling
Now, let’s move on to the repair process.
Step 1: Remove the Damaged Material

First, you need to remove the damaged material.
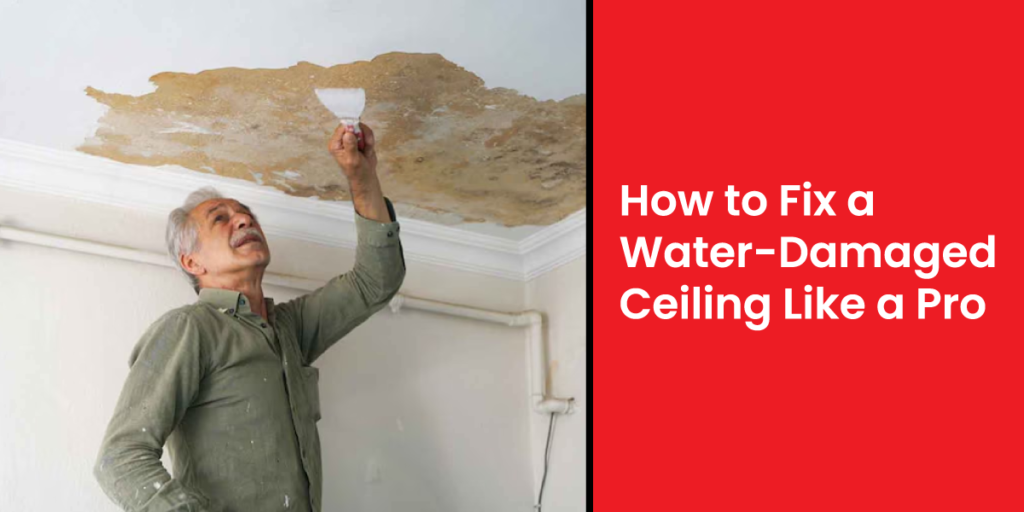
Grab a utility knife and carefully cut out any wet or sagging drywall. If you see loose paint or broken plaster, peel that off too. Just be really careful if parts of the ceiling are hanging down; you do not want anything falling on you.
Step 2: Dry and Treat the Area

Next, dry and treat the area. You want to make sure that the inside of the ceiling and the surface are completely dry before you do anything else. Use fans, open the windows, or bring in a dehumidifier if you have one. Once it is fully dry, spray a mold-resistant treatment on the area just to be safe. This will help stop any mold from growing later on.
Step 3: Repair the Ceiling

Now it is time to repair the ceiling. If the damage is minor and it is only a stain, you can simply apply a stain-blocking primer first and then repaint the ceiling using good ceiling paint.
If the damage is moderate, like small cracks or peeling spots, patch the small holes with joint compound. Let it dry fully, sand it nice and smooth, then prime and repaint the area.
If the damage is severe, like if part of the ceiling is sagging or collapsed, you will have to cut out the damaged drywall, screw a new drywall piece into the ceiling joists, tape the seams with drywall tape, cover everything with joint compound, and once it dries, sand it smooth.
After that, prime and repaint the full repaired area.
When tackling water damage, it’s easy to make mistakes. To avoid them, check out our blog on Water Damage Restoration Mistakes.
Painting the Ceiling Properly
When it comes to painting the ceiling properly, always start with a stain-blocking primer. It is important because it stops old stains from bleeding through the new paint. Then match the new paint with the old ceiling color as best as you can.
When you are painting the edges, use a feathering technique where you lightly brush outwards so the new paint blends into the old paint without showing a hard line.
Tips for a Perfect Finish
- Sand lightly between coats of joint compound.
- Apply 2 or 3 thin layers of paint. Never one heavy coat.
- Use ceiling-specific paint for better sticking and longer life.
Preventing Future Water Damage

- Check your roof, gutters, pipes, and appliances often.
- Clean gutters every few months.
- Make sure bathrooms and kitchens have good ventilation.
- Insulate pipes so they do not drip.
- Fix even tiny leaks right away.
If you’re a renter, understanding your coverage is crucial. Learn more about how renters insurance applies to water damage in our blog.
When to Call a Professional
You should call a professional if you see a lot of mold, if the wood framing or ceiling joists are damaged, or if there is water near electrical wires, because that can be really dangerous.
Also, if you just feel unsure about fixing it yourself, it is always better to be safe and get help. A little tip for you, if you are not sure who to call for water damage in the ceiling, try searching for certified water damage restoration companies or licensed roofers near you, and they will know exactly what to do.
Wrapping Up
So, hopefully, you now know how to fix a water-damaged ceiling. Fixing a water-damaged ceiling can sound scary. But if you catch it early, act fast, and follow the right steps, it becomes much easier. Watch for early signs of water damage on the ceiling. Fix small problems right away before they grow into huge repairs.
Remember: Prevention is cheaper, safer, and easier than fixing a collapsed ceiling!
FAQs
|

